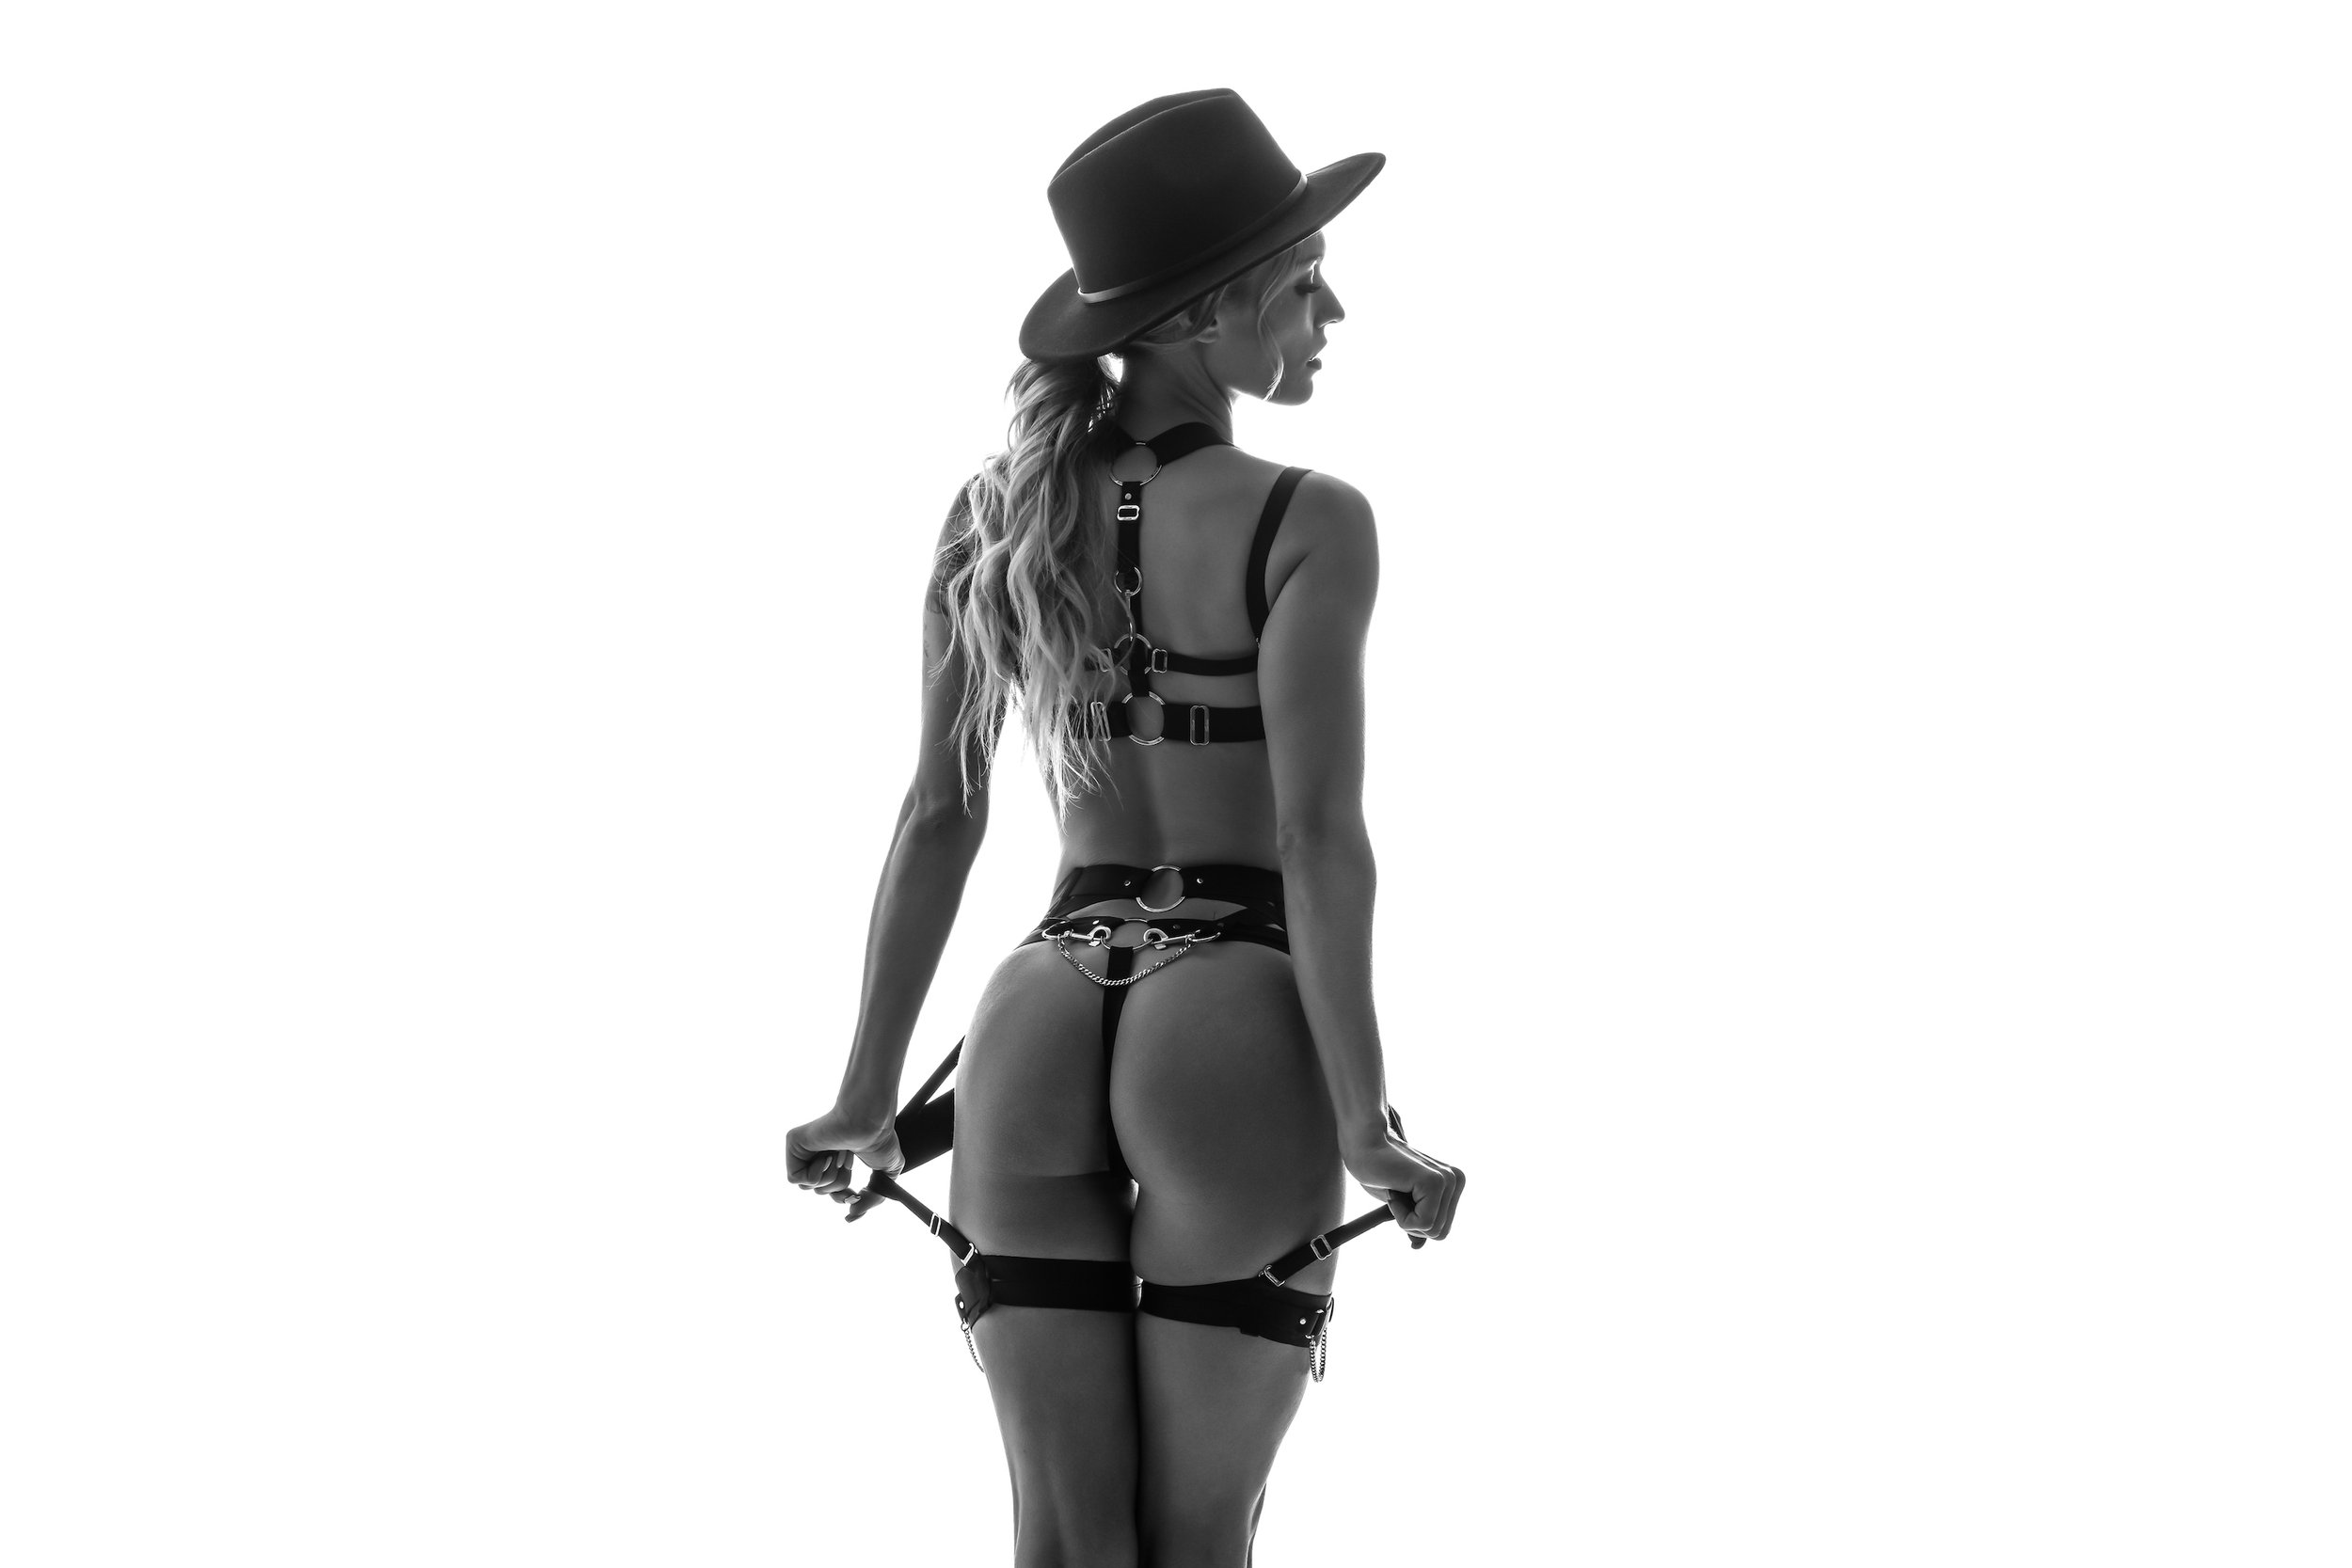
The Art of Silhouette & Semi-Silhouette Photography
Dive into the Nuances of these Simplistic, yet Profound Photo Styles
Understanding Silhouette & Semi-Silhouette Photography
Silhouette Photography: The subject is seen as a dark shape against a light background. It emphasizes the outline and form of the subject, but lacks detailed features.
Semi-Silhouette Photography: A step between traditional and silhouette images, semi-silhouette retains some visible details of the subject, revealing textures and subtle highlights.
Why It Works for Boudoir
Boudoir photography is all about capturing sensuality, vulnerability, and the intrinsic beauty of subjects. Using silhouettes and semi-silhouettes can add a layer of mystery, focusing more on the form and less on the specifics. The semi-silhouette, in particular, allows for capturing finer details like skin texture, making it more intimate.
Setting The Scene
Picking the Perfect Location:
Window: Provides natural backlighting.
Large Diffusion Panel: Offers controlled soft lighting.
White Backdrop: Creates a consistent bright background.
Lighting and Equipment:
Light Source: Use powerful lights like the LB 400 by Elinchrom to get a bright background. The placement can vary depending on your setup – behind a diffusion panel or behind the subject for backdrops.
Diffusion Panel: A fabric or panel that softens the light. Can be mounted on C-stands for stability.
Mastering The Pose
Silhouette photography is all about shapes and forms:
Eliminate Distractors: Watch out for elements like long hair that can alter the desired silhouette. For example, tying up the hair can help emphasize the shape of the head.
Introduce Elements: Add flair using props. A curl from long hair, a hat, or even a cigarette's smoke can introduce intriguing elements.
Capture Negative Space: Negative space accentuates the subject. For boudoir, having a separation between limbs can create compelling visuals.
Technique 1: Using a Diffusion Panel
Setup: Position your light source about 6ft behind your diffusion panel. The model stands in front of the panel. Use posing tools like an Apple box to get the desired height.
Camera Settings: Ensure your background is uniformly lit. Start by exposing your camera to highlights. Remember, settings can change based on equipment and light source.
Achieving Silhouette:
Initially, aim for an overexposed image. Adjust your aperture accordingly to get the perfect silhouette effect.
For semi-silhouettes, open up the aperture to let in more light. This reveals more details on the subject.
Technique 2: Using a White Backdrop
Setup: Lights are placed behind the model and angled to light up the backdrop evenly.
Achieving Silhouette:
Similar to the diffusion panel technique, adjust your camera settings to get the perfect silhouette. Remember, the crossing lights may require you to modify the settings for the desired result.
Editing and Final Touches
Post-production is an essential phase. If the silhouette isn't perfect, tools like Photoshop or Lightroom can be utilized to adjust blacks and whites to enhance the silhouette.
Why Experimentation Matters
Camera settings can differ based on equipment, the environment, and light sources. While knowing them is valuable, the key is understanding the principle behind it. Don't be afraid to experiment with different setups and lighting conditions.
Conclusion
Silhouette and semi-silhouette photography can elevate your boudoir photos, adding depth, mystery, and sensuality. Embrace the techniques, experiment with the settings, and discover the captivating results this style offers. Whether you're using natural window light, flash, or continuous lighting, mastering this style can truly set your work apart. Happy shooting!


